Painting your kitchen cabinets is one of the most cost effective ways to upgrade your kitchen and increase your home value in 2022. When painting your kitchen cabinets it is important you follow a few guidelines to ensure that they last as long as possible. Here are the Top 3 DIY Cabinet Painting Mistakes to avoid when painting your kitchen cabinets.
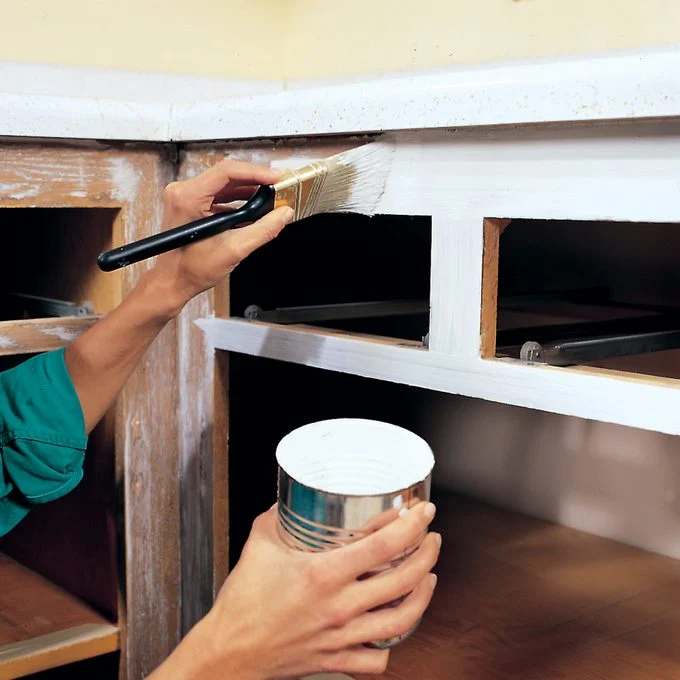
Mistake #1: Using The Wrong Primer
The first DIY cabinet painting mistake to avoid is using the incorrect primer for the job. This is one of the most common mistake DIYers make when painting their kitchen cabinets. Primer is a binding coat that plays two main roles when painting cabinets:
- Adherence: The correct primer will help the paint better adhere to the surface of the cabinets. This is important because your kitchen cabinets will have higher traffic than other areas in your home, meaning they must stand up to the future wear and tear they will face.
- Hide: Using the right primer will block the wood tannins from bleeding through the paint, which causes.
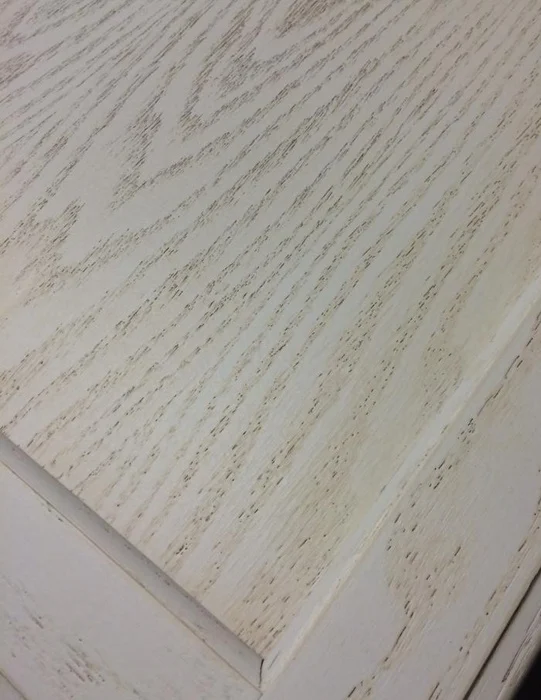
How To Avoid This DIY Cabinet Painting Mistake
Most oil based primers will do well when painting cabinets. Use any of the great primers from the list below and you will be in good shape! (grab from last blog)

- ProBlock Interior Oil Based Primer by Sherwin-Williams
- Kilz Original by Kilz
- White Pigmented Shallac by Sherwin-Williams
Mistake #2: Forgetting To Scuff Sand Cabinets
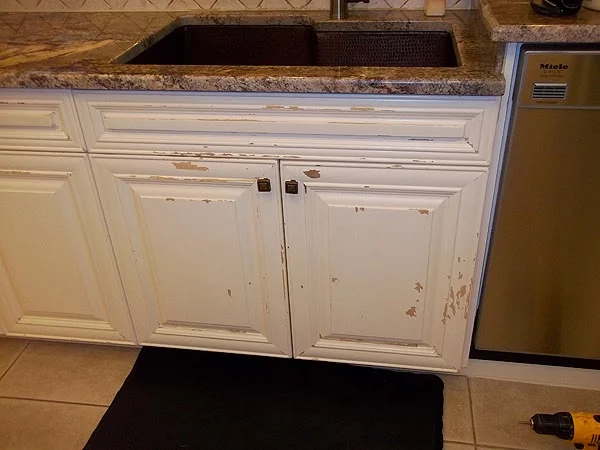
Number two on the list of “DIY Cabinet Painting Mistakes To Avoid” is forgetting to sand the cabinets prior to applying the primer. This step is important to promote adherence of the prime coat. How?
Well, the rule of thumb when painting anything is… Clean, Dull & Dry.
A scuff sand is used to dull the finish, allowing the primer to grab better. If this step is missed, the primer/paint will not hold and will most definitely peel up prematurely, leaving your cabinets looking worse than before painting.
How To Avoid This DIY Cabinet Painting Mistake
Scuff sand the cabinets with 140 grit sand paper prior to applying prime coat. You may ask, what a “scuff” sand is. Scuff Sanding is just a quick sand to make it dull. Keep in mind, you need not remove the finish entirely, only make it dull.
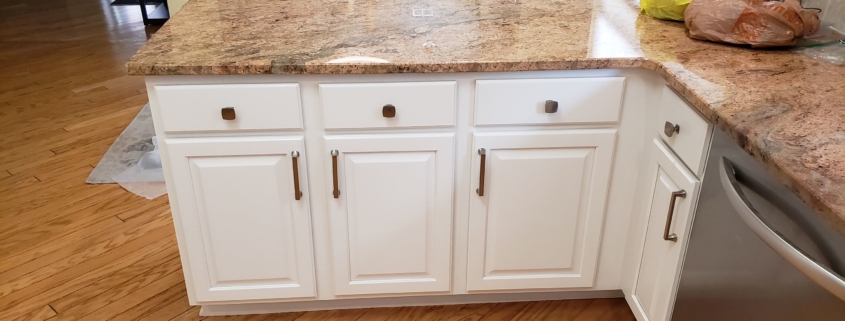
Mistake #3: Not Letting Cabinet Paint Fully Cure
The final DIY Cabinet Painting Mistake To Avoid is not letting the cabinet paint fully cure before starting to use the freshly painted cabinets. It may be a surprise to you, but cabinet paint needs to cure for 7 to 14 days before being used. If you start using your cabinets prior to letting them fully cure you run the risk of damaging the fresh coat of paint.
How To Avoid This DIY Cabinet Painting Mistake
If you remove your cabinet doors and drawers before you paint them, leave them in another room for a minimum of 14 days before you reinstall them. If you are painting your cabinets with out removing the doors, leave them open for the entire 14 day cure time. Doing this will allow the cabinet paint to fully harden before you start handling them.
Bonus Cabinet Painting DIY Tip:
Best Way To Guarantee the Cabinet Paint Will Adhere
Test your entire cabinet painting process on the back of only one cabinet door. Let it dry for a couple days and then attempt to scratch the paint off with a fingernail. Even though it hasn’t fully cured, the paint should not scrape up easily. If it does, adjust your process and try again.
DIY Cabinet Painting Kit
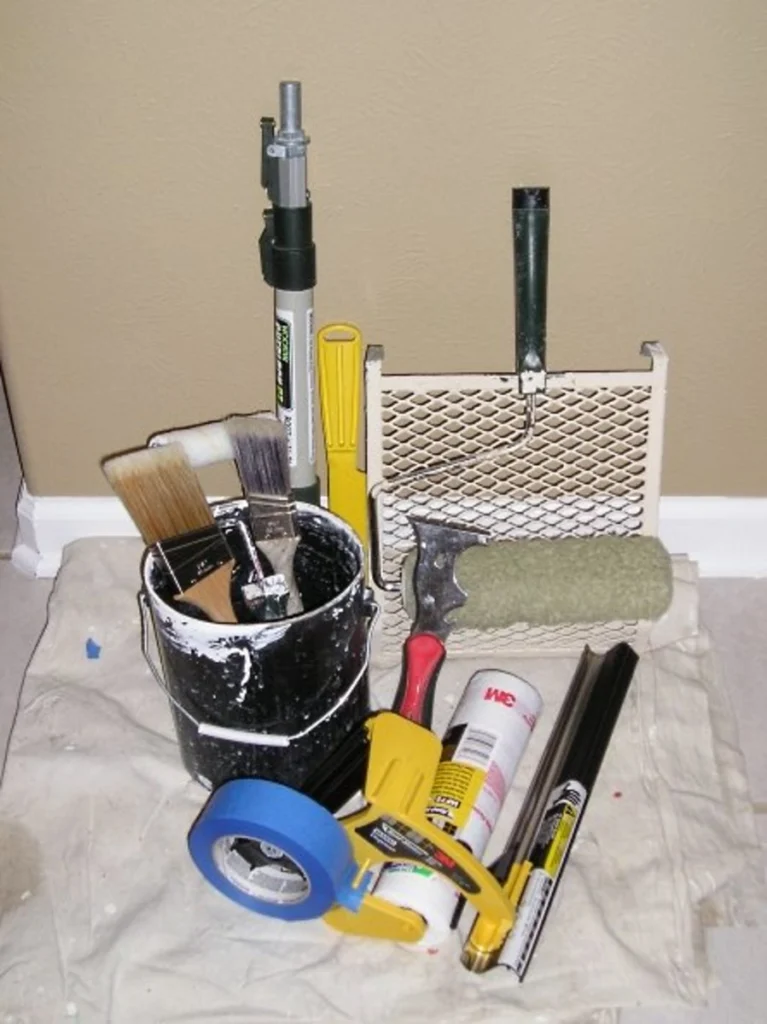
Before you paint your cabinets you should double check that you have all of the tools and equipment required to complete the job. Extra trips to the store will not only make your DIY project more frustrating, but also dramatically extend the project completion. Save time on your DIY cabinet painting project by checking that you have all of the items on our DIY Cabinet Painting Kit list below!
- Quality Paint Brush
- Foam Mini Roller
- Blue Painter’s Tape
- Drop Cloth
- Screw Driver
- Marker
- Primer
- Paint
- Ziplock Bag (to hold hardware)
- 220 Grit Sandpaper by 3M
- Wet-Dry Vacuum
- Rags

